Install ZSH on macOS terminal
We will see in this post how to switch from the default Shell which is bash to zsh. But before that let’s see a little bit what a Shell is and how and why to install zsh, as well as its integration under VS Code.
What is Shell?
The Shell is a command interpreter, whose function is to provide an interface between the user and the operating system. To make it simpler, it allows you to interact with the system and access its internal functions with simple commands. Under Linux distributions the default Shell is bash. But it is possible to have others: Fish, csh or even zsh.
Let’s talk a little more about zsh
Zsh is an alternative to bash. The latter has many advantages:
- Autocompletion of commands
- Correction of entered commands
- Commands history
- Shared history between the different open consoles
- Advanced Git support
on the latest versions of macOS zsh is the default shell
Installation
- To do this, open the terminal and install Homebrew if it is not already done. Homebrew is a package manager under macOS just like apt under Linux.
/usr/bin/ruby -e "$(curl -fsSL https://raw.githubusercontent.com/Homebrew/install/master/install)"
or
echo | /bin/bash -c "$(curl -fsSL https://raw.githubusercontent.com/Homebrew/install/master/install.sh)"
You will have to type Enter, then our user password to install it. We’ll have to wait a while, especially if we don’t have the CLT (Command Line Tools) for Xcode installed.
More details about the installation of Homebrew on this link https://docs.brew.sh/
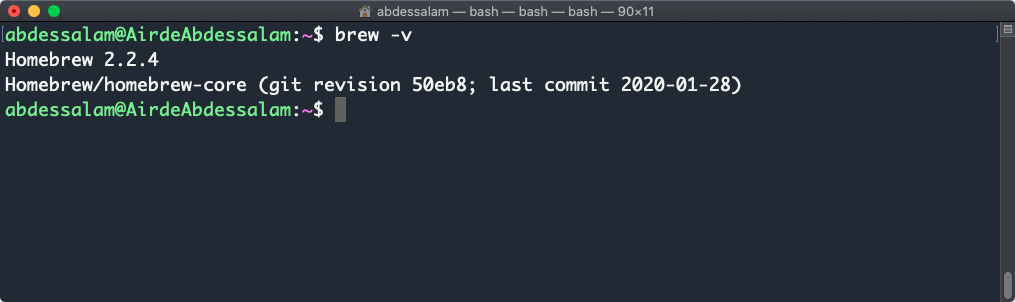
- After installing Homebrew, we can verify this by doing a
brew -vwhich will return the installed version.
brew -v
- Now we go with the brew command to install
zshandzsh-completions.
brew install zsh zsh-completions
- Now that zsh is installed we will move on to Oh My Zsh, a framework that allows you to customize your Shell with themes and plugins.
sh -c "$(curl -fsSL https://raw.github.com/robbyrussell/oh-my-zsh/master/tools/install.sh)"
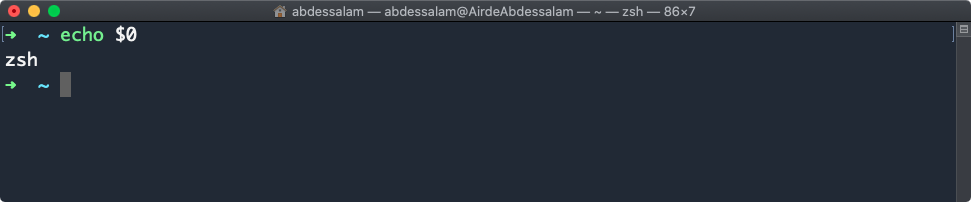
That’s it, we now have everything we need. Then we just have to change the default interpreter and put zsh.
chsh -s /bin/zsh
Restart the terminal and zsh is up and running!
You can also add plugins and change the default theme (robbyrussel). More details on this link https://github.com/robbyrussell/oh-my-zsh/wiki
Integration of zsh on the VS Code terminal
I use VS Code as my default IDE and I often need a terminal without changing desktops. With VS Code you have the possibility of having a built-in terminal, except that by default it is on bash. Here’s how to put it on zsh.
You have to go to Code > Preferences > Settings > Open settings.json and put zsh instead of bash.

After relaunching VS Code we can see that the terminal is on zsh with git on this project.

Before you leave…
Thanks for reading! 😊